Background
Previously we described a Node.js Coding Model that included some behaviours from this blog’s API Journey – Server Side blog post. Next we will provide an equivalent API in C# and .NET.
Final API Code Sample Overview
As for other code examples on this blog, the API has a simple money based theme of investments. It provides only a couple of simple endpoints that return fictional hard coded data.
The API aims to be visual and can serve this blog’s apps, such as the Final SPA below. Running both together is a good way to ensure that the API is client focused. API logs are then generated via requests from the client:

API URLs
During development the API is run as a standalone component. Either XUnit tests or a load test can be used as API clients. These tests can get user level access token to call the API and verify its OAuth security. This is done by pointing the API to a mock authorization server:
| Component | Base URL |
|---|---|
| API | https://apilocal.authsamples-dev.com:446 |
| Mock Authorization Server | https://login.authsamples-dev.com:447 |
Prerequisite 1: Domain Setup
First update the hosts file to create web and API domains for local development. Include the web domain if running the SPA and API together:
127.0.0.1     localhost apilocal.authsamples-dev.com login.authsamples-dev.com web.authsamples-dev.com
::1           localhost
Prerequisite 2: Install .NET
Download and install the latest .NET SDK, which can be installed on Windows, macOS or Linux:
Prerequisite 3: Optionally Install a .NET IDE
I use Visual Studio Code for C# development:
Prerequisite 4: Optionally Install Node.js
If you want to run the SPA as well as the API, install Node.js for your operating system, which is used to build the SPA’s JavaScript bundles.
Prerequisite 5: Install Docker Desktop
To run API tests, or to run the full SPA and API solution, utility components are run in Docker. Therefore ensure that a local Docker Engine, such as Docker Desktop is installed.
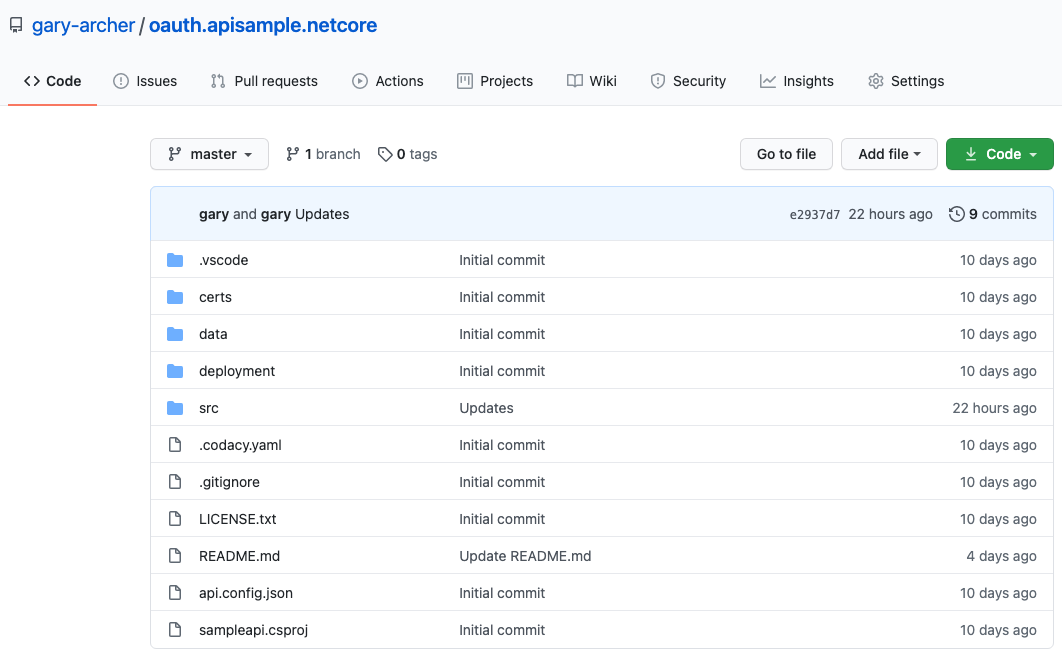
Step 1: Build and Run the API
The API sample is available here and can be be downloaded / cloned to your local PC:
- git clone https://github.com/gary-archer/oauth.apisample.netcore
- cd oauth.apisample.netcore
Next run the following script, which downloads some OpenSSL generated development certificates, then runs the API on port 446:
./start.sh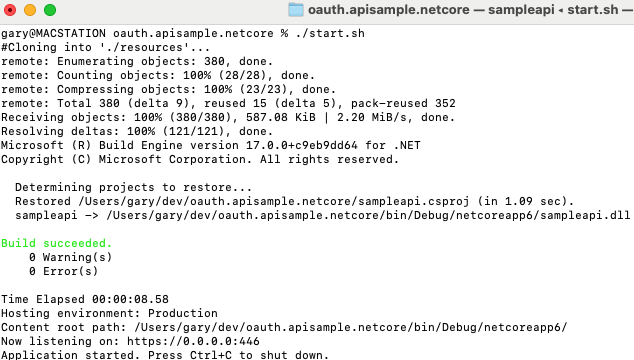
Step 2: Configure SSL Trust
The API runs over SSL using a development certificate, and to prevent trust problems from tests or the browser you will need to trust the highlighted root certificate below, by Configuring Browser Trust:
You will then be able to navigate to the API URL in a browser without any SSL warnings:

Step 3: Run Integration Tests
To run XUnit tests, the API must be pointed to a mock authorization server, so must run with a test configuration. Stop the API if it is running, then re-run it via this command:
./testsetup.shNext run the tests with the following command:
./integration_tests.shThis will spin up a mock JWKS URI hosted at HTTPS endpoints provided by the Wiremock utility. A number of tests are then run, which make HTTP requests to the API. These tests focus on the API’s key security behaviour:

Step 4: Run a Basic Load Test
While the API is running with a test configuration, you can also run a basic load test. This test ensures that the API code has no concurrency bugs, by firing parallel API requests:
./load_test.shThe test fires 100 HTTP requests to the API, in batches of 5 concurrent requests at a time. This intentionally rehearses certain types of error, and the expected result is 3 errors from a total of 100 requests:

For further details on testing the API with user level tokens but without running a full user login flow, see the API Automated Tests blog post.
Step 5: Run the SPA Client
The API can be the source of data for any of this blog’s Final UIs. Run the Final SPA using the following commands, where SPA resources are downloaded to a parallel folder:
cd ..
git clone https://github.com/gary-archer/oauth.websample.final
cd oauth.websample.final
./build.sh LOCALAPI
./run.sh LOCALAPI
This will run a number of commands in child terminals, the last of which runs the default browser at https://web.authsamples-dev.com/. You can then sign into the SPA using this blog’s test credential:
- User: guestuser@mycompany.com
- Password: GuestPassword1
The SPA will then make OAuth secured requests to the API, which will result in the API’s code writing JSON logs.
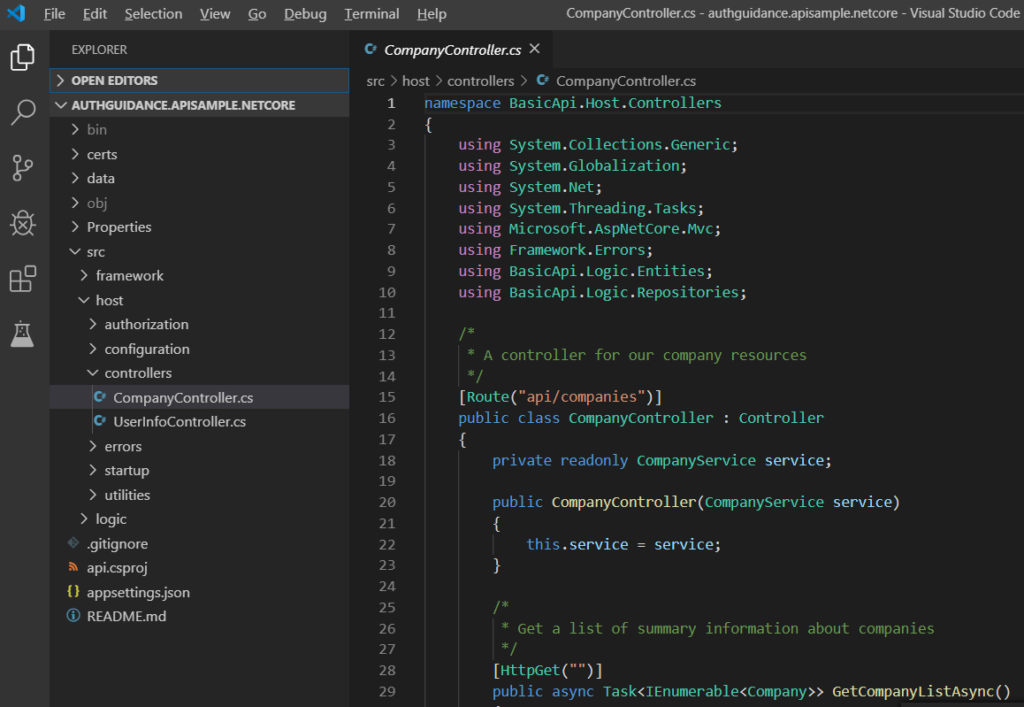
Main Feature 1: Extensible Authorization
The API implements its security according to these two blog posts, using a JOSE library and some custom claims handling:
The overall behaviour should be to deal with OAuth security in the correct ways, while setting up the API’s business logic with the authorization values it needs. These values may originate from multiple data sources and may not always be issued to tokens:
public class CompanyService
{
    private readonly CompanyRepository repository;
    private readonly CustomClaimsPrincipal claims;

    public CompanyService(CompanyRepository repository, CustomClaimsPrincipal claims)
    {
        this.repository = repository;
        this.claims = claims;
    }
}
Main Feature 2: Production Supportability
The other main objective of the API code sample will be JSON logging of API requests, to include useful technical support fields. Logging console output looks like this on a development computer:
{
  "id": "65904f11-5fd4-429b-bf6d-3e27285e4fd7",
  "utcTime": "2022-12-10T13:09:29",
  "apiName": "SampleApi",
  "operationName": "GetCompanyTransactions",
  "hostName": "WORK",
  "method": "GET",
  "path": "/investments/companies/2/transactions",
  "resourceId": "2",
  "clientApplicationName": "FinalSPA",
  "userId": "a6b404b1-98af-41a2-8e7f-e4061dc0bf86",
  "statusCode": 200,
  "millisecondsTaken": 12,
  "millisecondsThreshold": 500,
  "correlationId": "5d9ced72-02be-7069-45e8-fd4bcfdb1881",
  "sessionId": "004d32bc-9755-b50e-6315-5be09f277ebe"
}
Meanwhile, logs are also written to files in a bare JSON format, ready for log shipping:
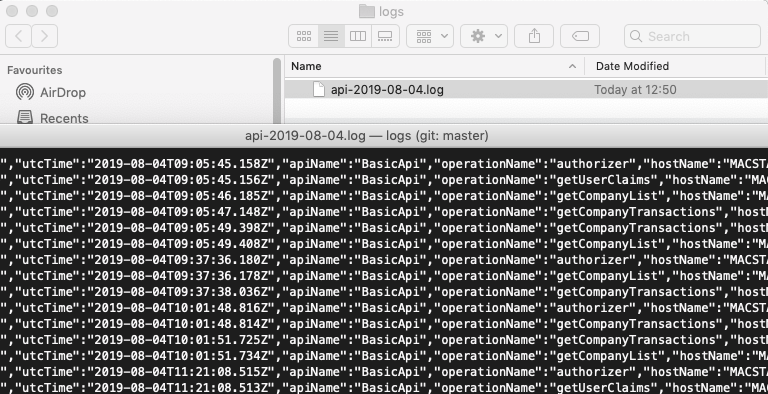
The Elasticsearch Log Aggregation Setup can also be followed, to enable Technical Support Queries against the API. This would be useful in a production system, where there would be many API requests per day.
Cloud Native Deployment
The API would typically be deployed as a container in a cloud native environment. The API includes some Docker and Kubernetes deployment resources. A basic Docker deployment can be run with these commands:
./deployment/docker-local/build.sh
./deployment/docker-local/deploy.sh
./deployment/docker-local/teardown.sh
Where Are We?
We have described the key behaviour of our final .NET API. In the next post we will take a closer look at how the OAuth integration has been coded.
Next Steps
- Next we will drill into OAuth Integration for our .NET API
- For a list of all blog posts see the Index Page