Background
Previously we started configuring our Cloud Domains and next we will describe the more advanced configuration of AWS Cognito as a managed authorization server.
Create the Authorization Server
In this blog I only use the standards-based authorization server role. In AWS terms this means I am using a User Pool with a Hosted UI. I started by navigating to Cognito in the AWS Console and created a user pool:
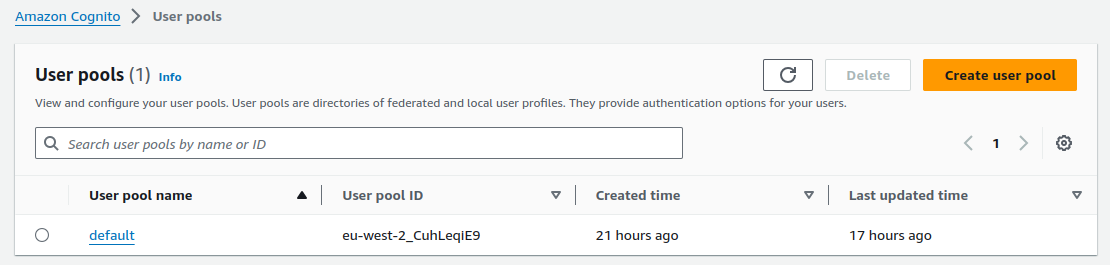
The basic configuration was described in the earlier post on choosing an Initial Authorization Server. This included creating a user schema with some custom fields to use for authorization.
Create a Custom Domain
For this blog, I wanted the authorization server to run at an internet URL of https://login.authsamples.com. For this to work in AWS, the root domain, located at https://authsamples.com, has to be contactable. To enable this I first created an S3 Bucket as a source for HTTP requests:
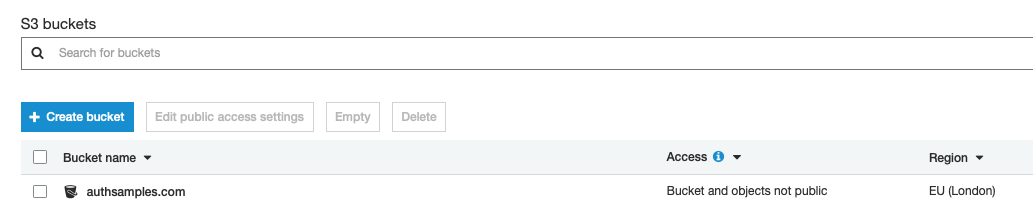
I then created a Cloudfront Distribution for the root domain. We will cover further details of configuring S3 and Cloudfront in the following post on SPA deployment.

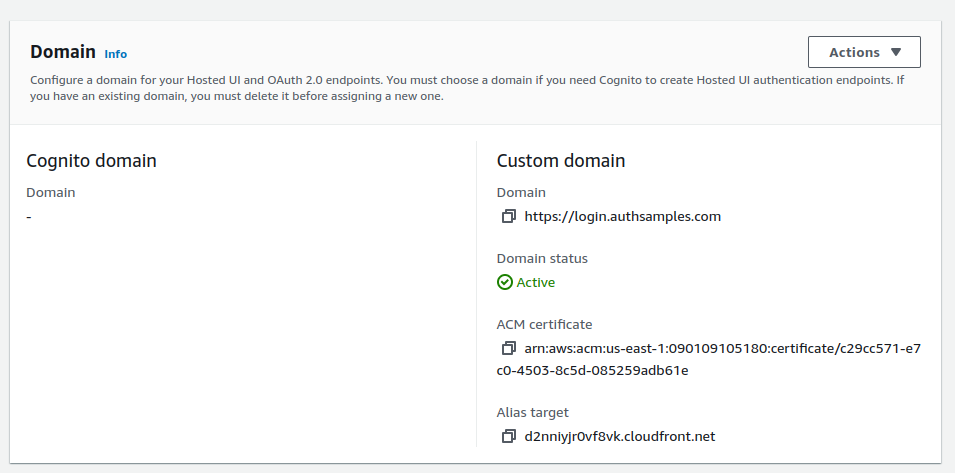
Next I updated the user pool with the Custom Login Sub Domain we defined in the previous post, and also referenced the AWS Managed SSL Certificate:
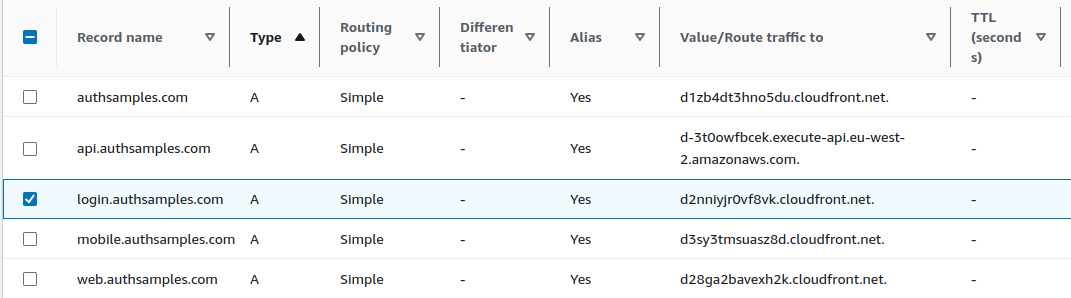
I then returned to Route 53 and added an A Record to associate the Login Sub Domain to the above Alias Target. AWS then takes 15 minutes or so to make the domain available.
Activate Advanced Features
Cognito advanced features increase AWS costs a little, and I chose the following options.

My only motivation for activating advanced features is to enable access token customization, so that fields from the user schema can be issued as claims. This is an essential OAuth behavior for protecting data in APIs.
Define Custom API Scopes
To define custom API scopes in AWS Cognito you must configure a ‘Resource Server‘. In this blog’s code samples I use the identifier to as a base URL to represent a set of related APIs.
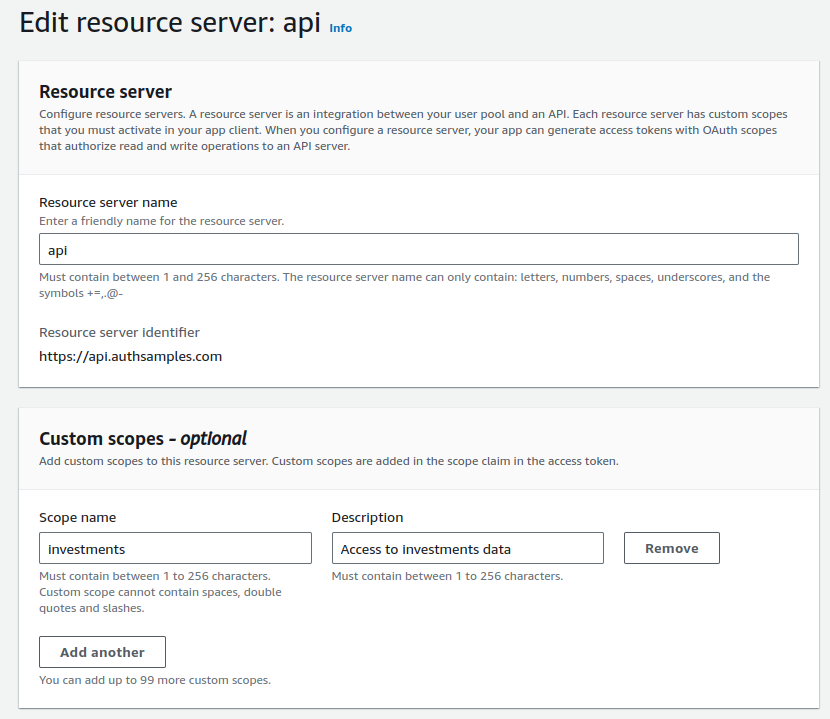
Each scope then represents high level access to a business area. Only clients that work with investments data would be assigned the investments scope and be able to successfully call this blog’s example APIs.
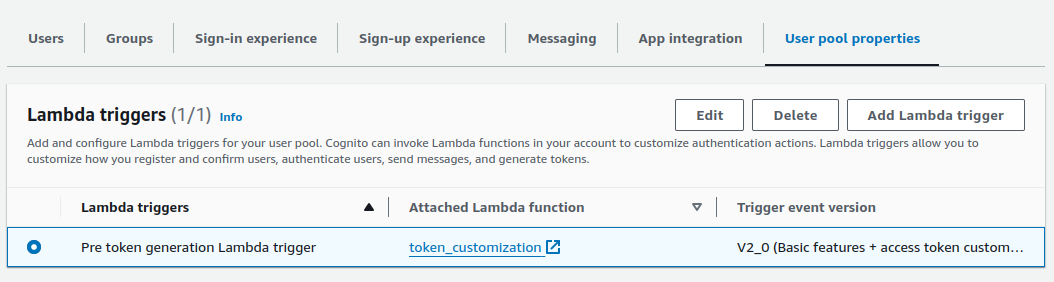
Configure Token Customization
I then created a Pre-Token-Generation Lambda Trigger, using the version 2 schema that supports access token customization:
I added a lambda function with the following code:
export const handler = function(event, context) {

  const response = {
    claimsAndScopeOverrideDetails: {
      idTokenGeneration: {
        claimsToSuppress: [
          'email',
          'email_verified',
          'given_name',
          'family_name',
          'custom:manager_id',
          'custom:role',
    	 ]
      },
      accessTokenGeneration: {
        claimsToAddOrOverride: {
    	 }
      }
    }
  };

  if (event.request.scopes.indexOf('https://api.authsamples.com/investments') !== -1) {
    const customClaims = response.claimsAndScopeOverrideDetails.accessTokenGeneration.claimsToAddOrOverride;
    customClaims.manager_id = event.request.userAttributes['custom:manager_id'];
    customClaims.role = event.request.userAttributes['custom:role'];
  }

  event.response = response;
  context.done(null, event);
};
The claimsToSuppress section is used to remove personal data from ID tokens, since my code samples instead get personal data from the Cognito user info endpoint.
The claimsToAddOrOverride section is used to customize access tokens. Claims are issued differently ‘per scope‘ so that different custom claims can be issued to different clients. In this blog’s code samples, the custom fields in the user schema are issued to clients using an investments scope.
These claims provide convenient fields for APIs and produce a more complete access token. In many cases this helps to lock down the access token and reduce its privileges. This blog’s use of claims is further explained in the blog post on API authorization behavior.
Where Are We?
We have completed the configuration of a low maintenance Cloud Authorization Server and activated some advanced but essential features. Next we will describe how the SPA’s static content is deployed globally.
Next Steps
- Next we will describe AWS Cloud Web Content Delivery
- For a list of all blog posts see the Index Page