Background
Previously we described a Cloud Hosting Overview, to summarise what we were aiming to achieve. Next we will focus on an initial AWS Developer Cloud Setup, including purchasing an Internet Domain.
Create an AWS Developer Account
Go to https://aws.amazon.com/free and click the Create Free Account option:
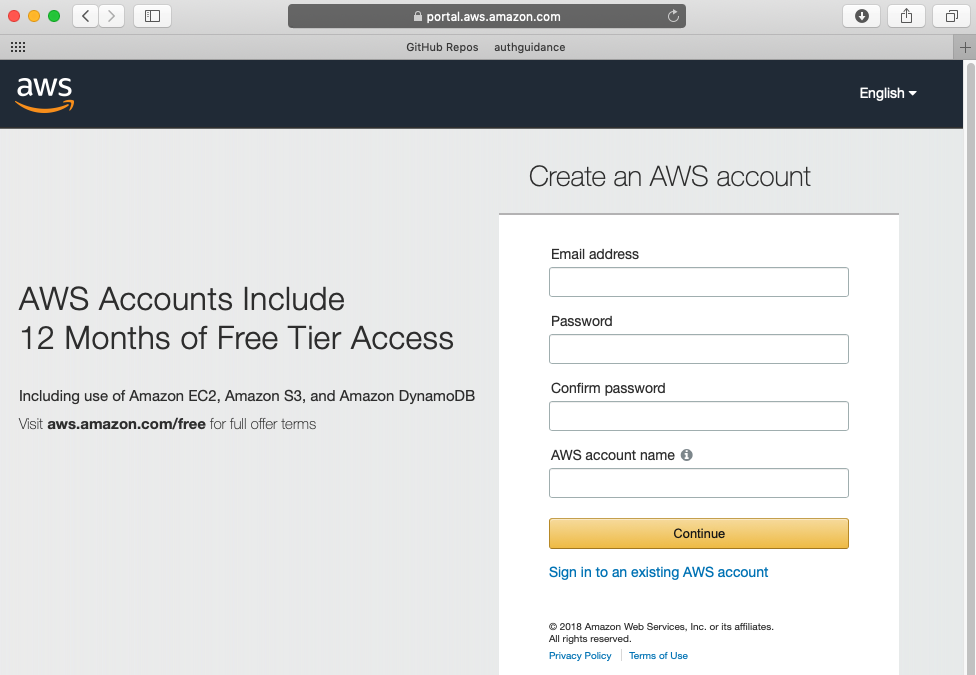
Submit registration details and then process the confirmation email.
Log in to the AWS Console
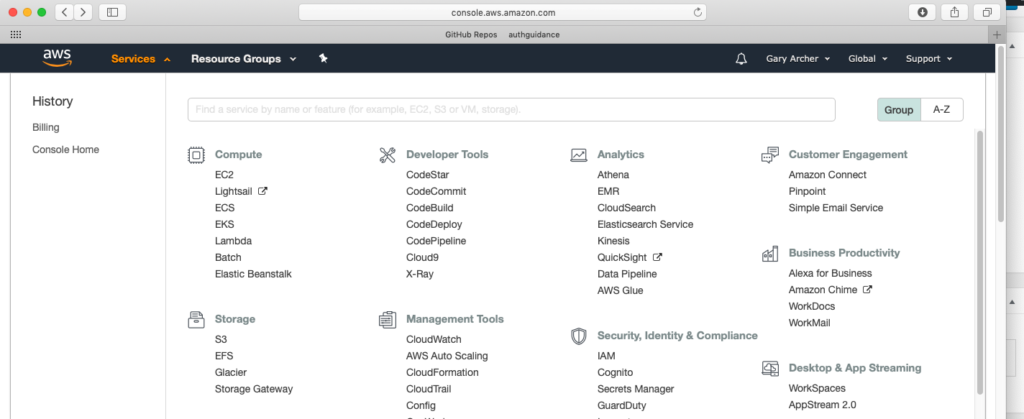
Next log in to the AWS Developer Console and start using features:
Create a Custom Domain
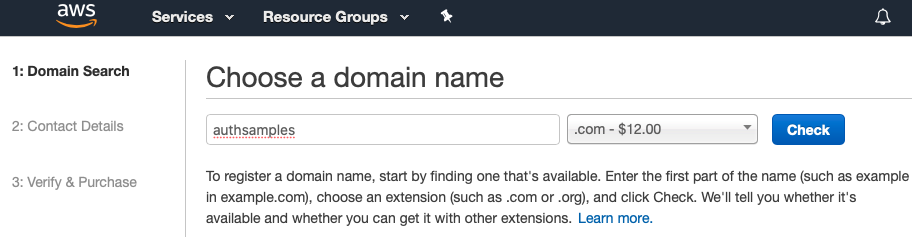
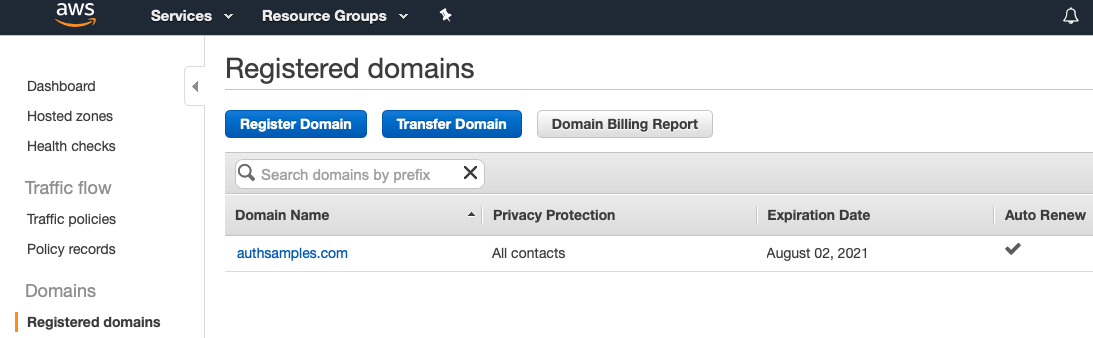
Select Route 53 in the Developer Console and request a domain, which of course must not already exist on the internet:
After confirmation the domain will first show up under Pending Requests while the Internet DNS details are being registered. Once complete, the domain will show up under Registered Domains.
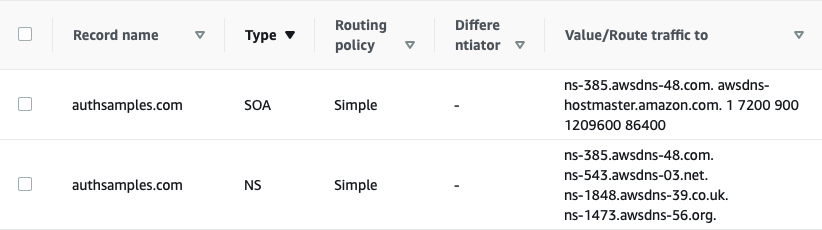
If we then look at Hosted Zones we will see that some initial Name Server and Start of Address networking details have been created.
After a few minutes you can issue the following command to query DNS details:
whois authsamples.com

   Domain Name: AUTHSAMPLES.COM
   Registry Domain ID: 2550276719_DOMAIN_COM-VRSN
   Registrar WHOIS Server: whois.registrar.amazon.com
   Registrar URL: http://registrar.amazon.com
   Updated Date: 2023-01-07T17:13:55Z
   Creation Date: 2020-08-02T10:42:26Z
   Registry Expiry Date: 2023-08-02T10:42:26Z
   Registrar: Amazon Registrar, Inc.
   Registrar IANA ID: 468
   Registrar Abuse Contact Email: abuse@amazonaws.com
   Registrar Abuse Contact Phone: +1.2067406200
   Domain Status: ok https://icann.org/epp#ok
   Name Server: NS-1473.AWSDNS-56.ORG
   Name Server: NS-1848.AWSDNS-39.CO.UK
   Name Server: NS-385.AWSDNS-48.COM
   Name Server: NS-543.AWSDNS-03.NET
   DNSSEC: unsigned
   URL of the ICANN Whois Inaccuracy Complaint Form: https://www.icann.org/wicf/
Create Sub Domains
On this blog we will use custom subdomains as follows, and getting each of these working will be covered in subsequent posts:
| Domain | Points To | Usage |
|---|---|---|
| login.authsamples.com | Cognito URL | Authorization Server |
| web.authsamples.com | CloudFront URL | Web Content Delivery |
| api.authsamples.com | API Gateway URL | API Hosting |
| mobile.authsamples.com | CloudFront URL | Mobile Logins and Deep Linking |
| authsamples.com | CloudFront URL | Parent Domain |
Create a Wildcard SSL Certificate
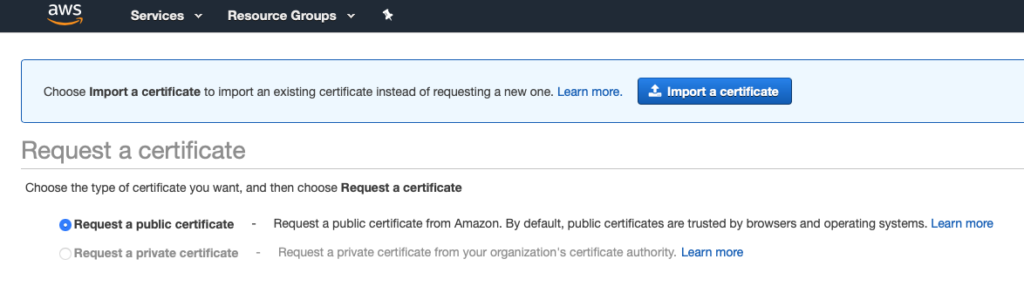
Next go to AWS Certificate Manager for your region, then select the Request a Public Certificate option:
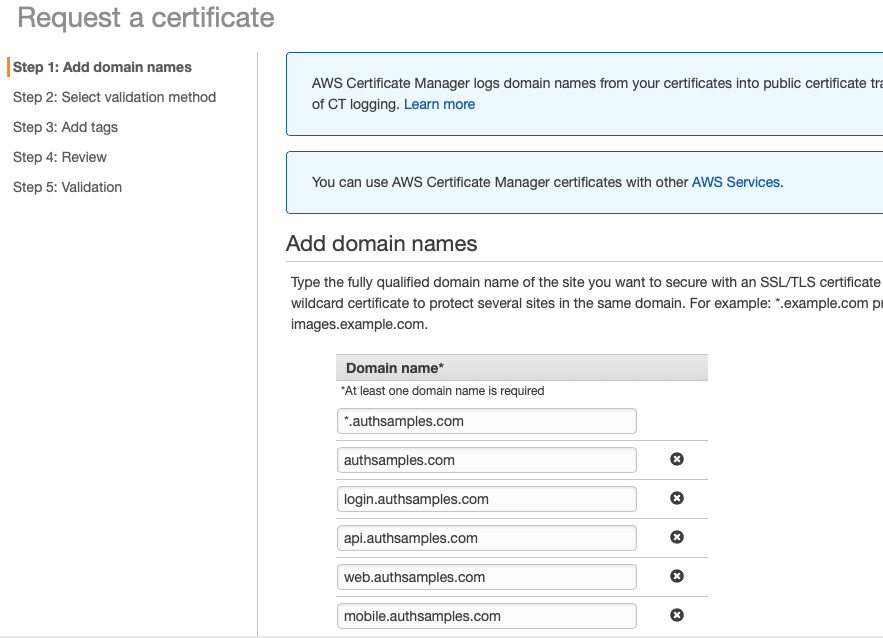
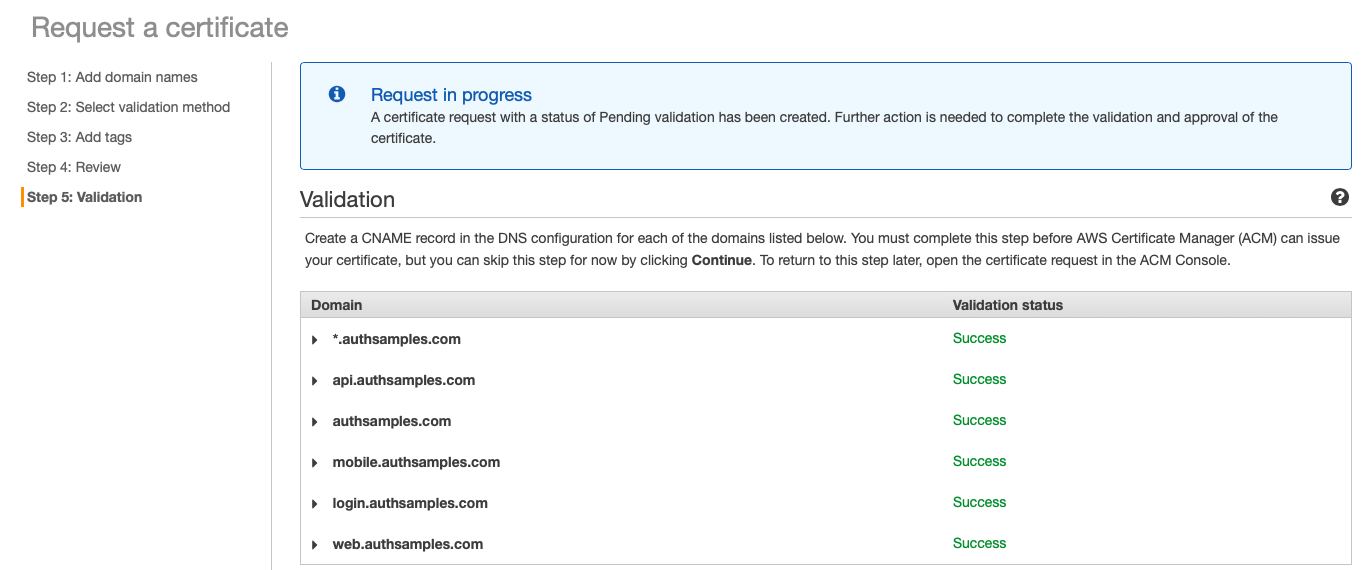
Select the Add another name to this certificate option and then enter a wildcard domain, followed by the parent domain, followed by subdomains:
For each of the domain names, select Create Record in Route 53, which is needed for certification validation checks to pass:
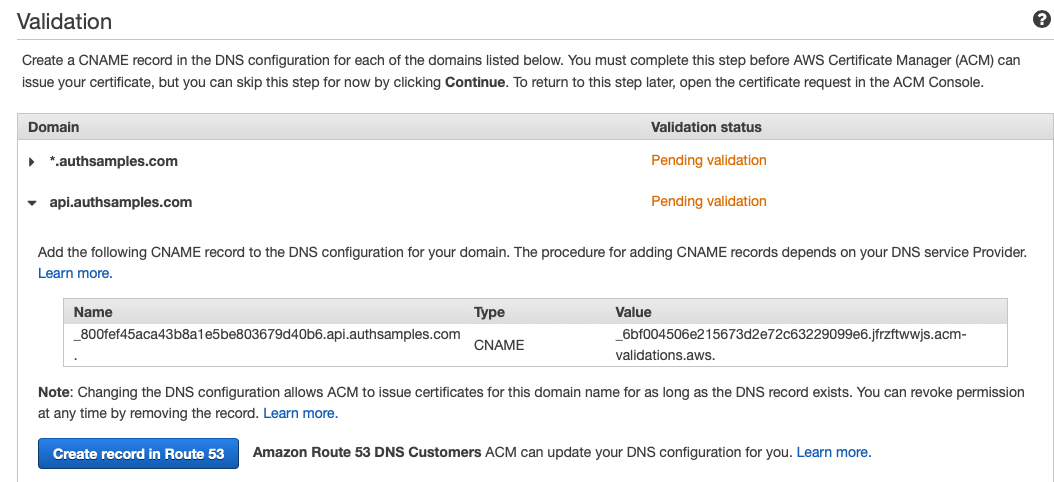
If we now return to Route 53 Hosted Zones we will see the following details:

The Certificate Validation should now succeed, so that we have a single Multi Domain SSL Certificate ready to use:
Later, when we use the certificate in a browser, it will be Internet Trusted for all of our application domains, as illustrated below:
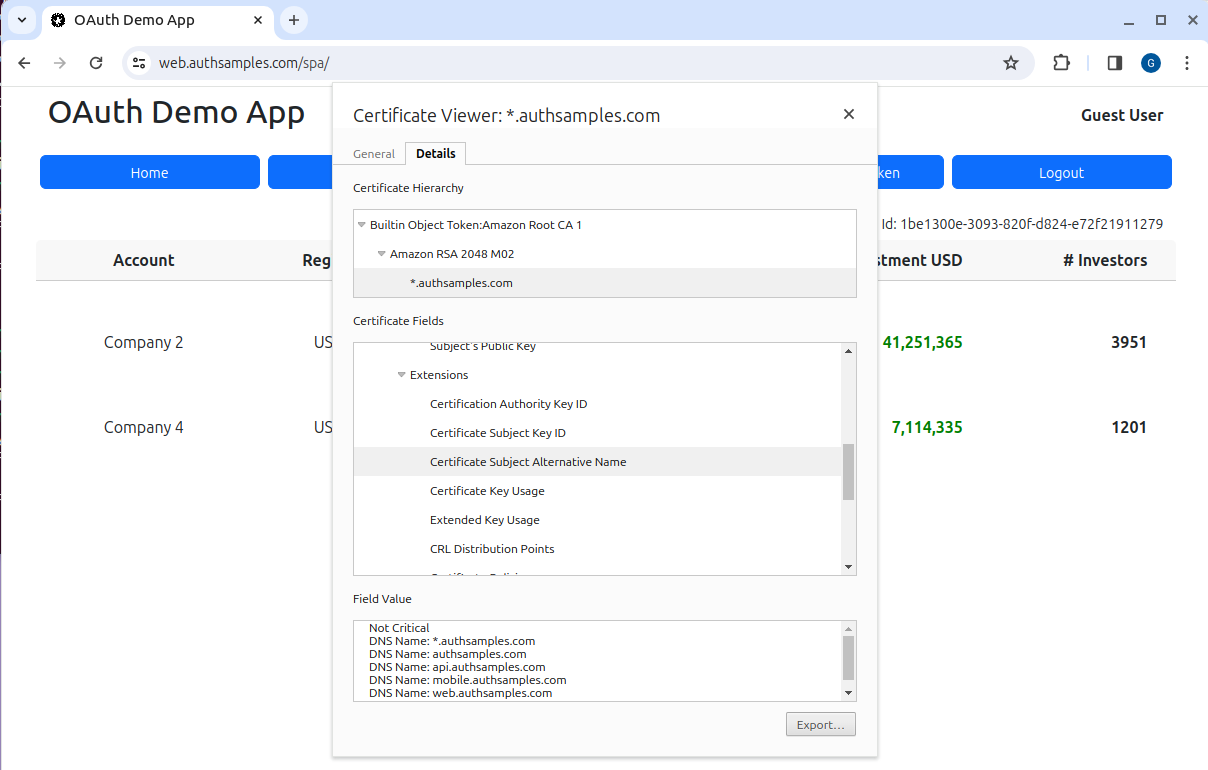
AWS automatically renews the certificate when it is close to expiry, so that there is no certificate infrastructure to manage.
Enable AWS Uploads
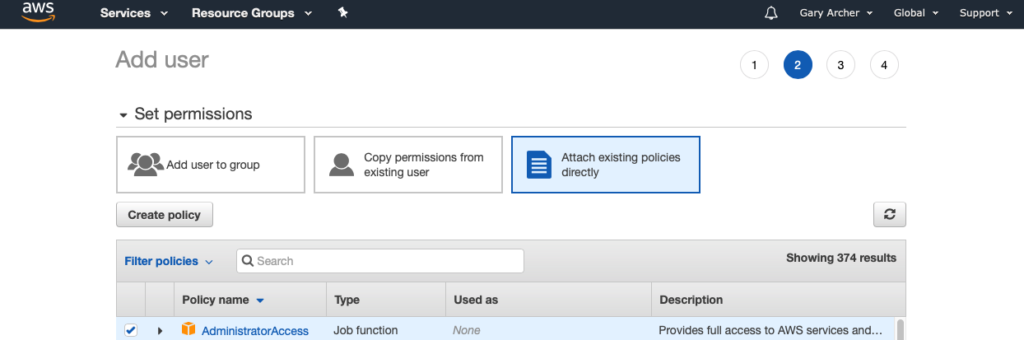
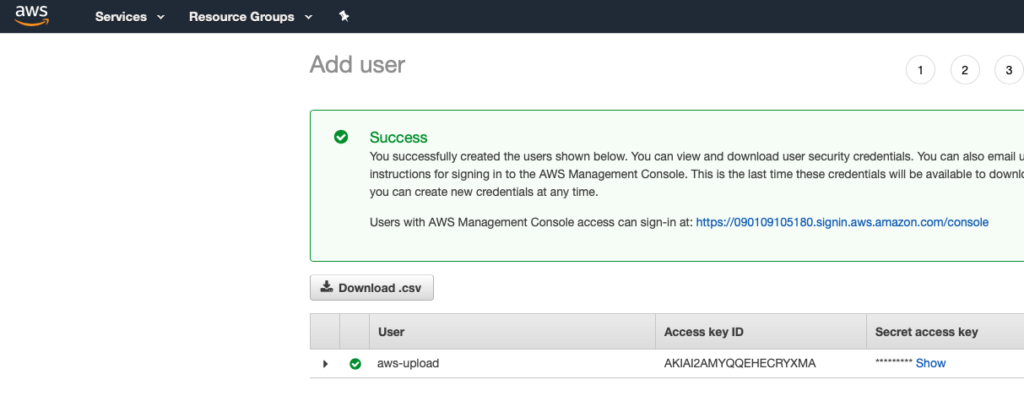
From the AWS Console navigate to IAM / Users and create a user called aws-upload, which this blog uses use for uploading assets to AWS:

In order to keep things simple initially, I assigned administrator privileges to the upload user. When using company AWS accounts, you should instead grant only the permissions needed, and run with least privilege:
Make a note of the Access Key ID and Secret Access Key values:
Install the AWS CLI
To complete our setup, we will ensure that we can automatically push built code to the above domains. Follow the Amazon Instructions so that you can run the following command successfully:
aws --version

aws-cli/2.9.4 Python/3.9.11 Linux/5.19.0-29-generic exe/x86_64.ubuntu.22 prompt/off
Next configure the CLI and type in details when prompted. Results are saved to your profile directory, which will be located at ~/.aws/credentials.
aws configure

AWS Access Key ID [****************QXLM]:
AWS Secret Access Key [****************XLQg]:
Default region name [eu-west-2]:
Default output format [None]:
Where Are We?
We have configured subdomains to enable Real World Internet URLs for our demo apps, and the local computer is prepared for uploading applications.
Next Steps
- Next we complete the Cloud Authorization Server Setup
- For a list of all blog posts see the Index Page