Background
Previously we enabled an initial Android Setup and ran the AppAuth Android Code Sample. Next we will focus on viewing HTTPS mobile traffic from emulators and devices on a development computer.
Run the HTTP Proxy on the Host
First configure and run the HTTP proxy on the host computer, as described in our earlier write up on HTTPS Debugging:
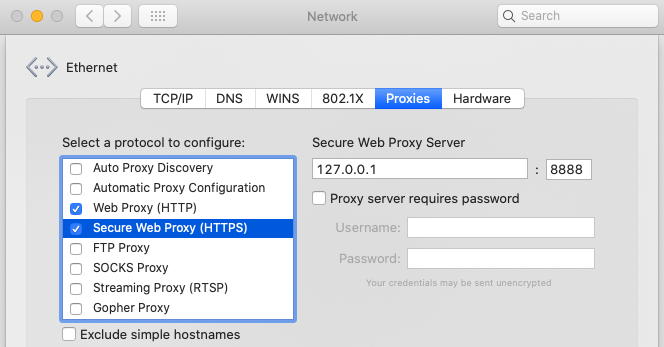
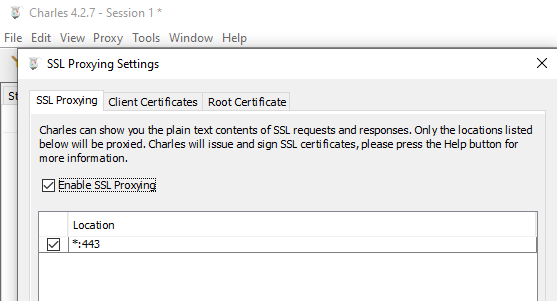
We also need to instruct the proxy to decrypt SSL traffic, as covered in our page on SSL Trust Configuration:
Determine the Computer’s IP Address
This value will vary depending on whether you are using an emulator or a device connected via USB. With Android emulator networking, the host computer’s IP address is always the special value 10.0.2.2.
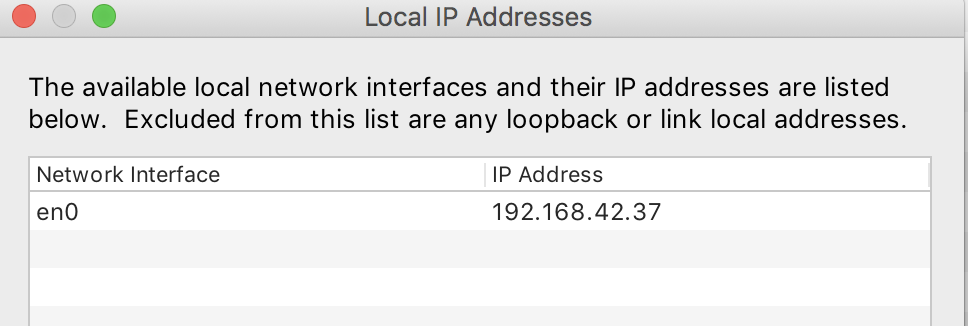
For a real device I use the Charles menu item Help / Local IP Address to find my Macbook’s IP address, since I usually run on a WiFi network where the IP address is auto assigned:
Configure Android WiFi Proxy Settings
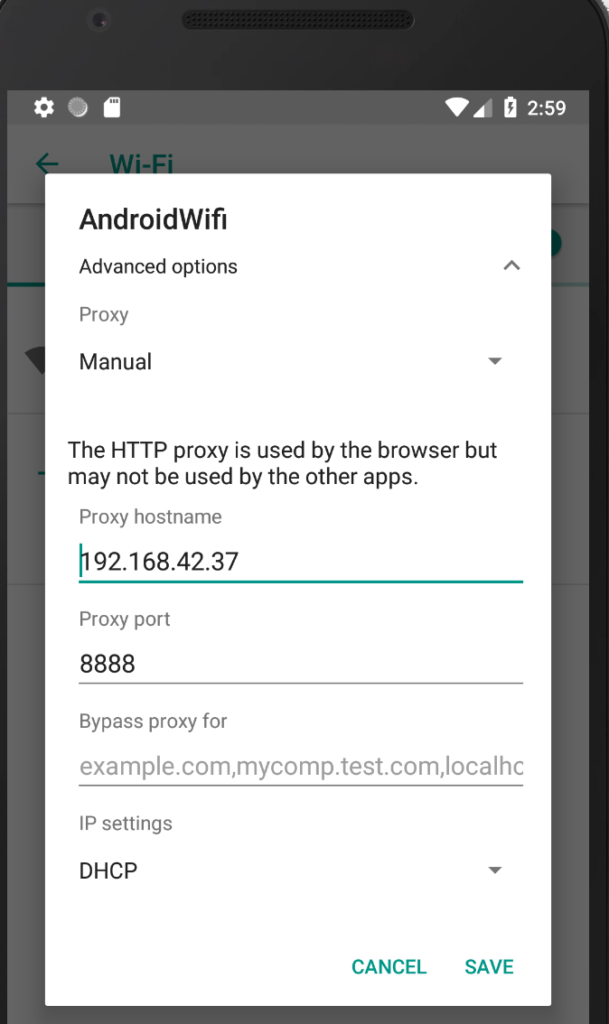
When running on a WiFi network, select Settings / Network & Internet / Wi-Fi, then choose the specific network connection and click the pencil icon to edit it, then provide proxy details:
Force Use of WiFi Network
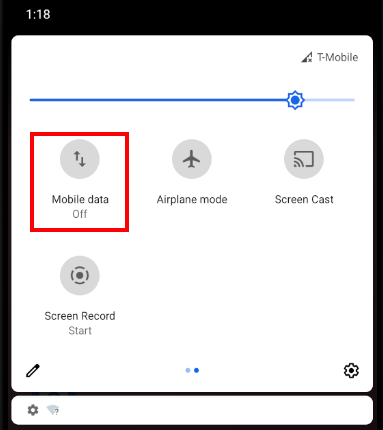
The Android emulator may alternate connectivity between WiFi and Cellular. This can cause confusion when getting an HTTP Proxy working, so I usually disable Mobile Data so that only WiFi is used:
Android Cellular Proxy Settings
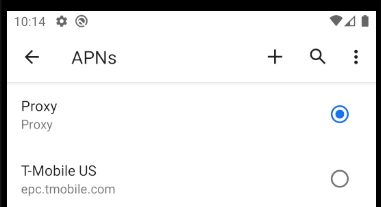
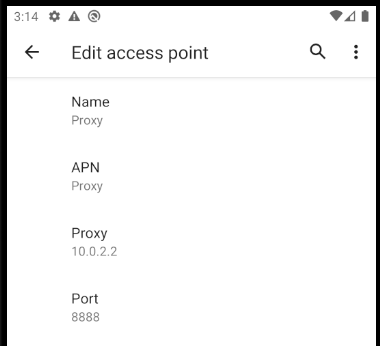
If you do need to proxy over a cellular network you need to select Settings / Network & Internet / Mobile Network, then choose Advanced / Access Point Names and add a new entry:
The details for the new entry can then be added in the below screen. Be sure to click the menu in the top right and select the Save item to avoid losing edited details.
Understand Initial SSL Errors
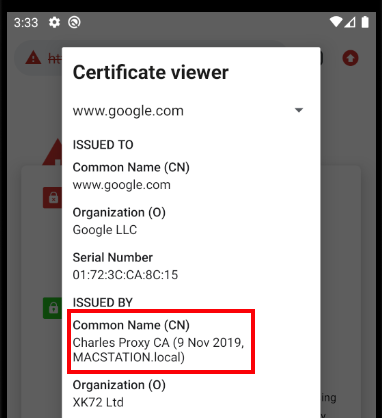
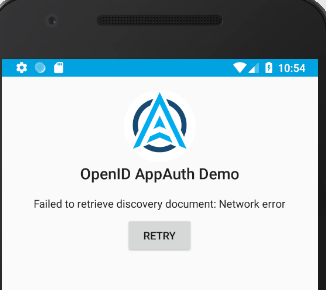
If we now run the system browser or the AppAuth Sample on the Android device, there will be an attempt to proxy the traffic over SSL, and this will result in SSL Trust errors:
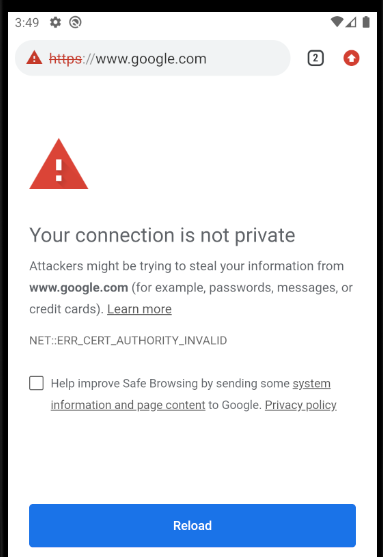
This is because the HTTP Proxy is intercepting SSL requests at runtime and replacing the Root Certification Authority. To fix this we need to configure emulators and devices to trust the HTTP Proxy’s Root Certificate.
Deploy the HTTP Proxy Root Certificate
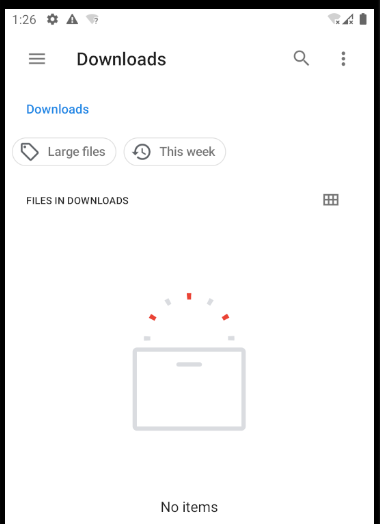
If you are using the MITM Proxy tool, you can just browse from a mobile browser on the device or emulator to http://mitm.it/. Then download the certificate to the device’s Downloads folder.
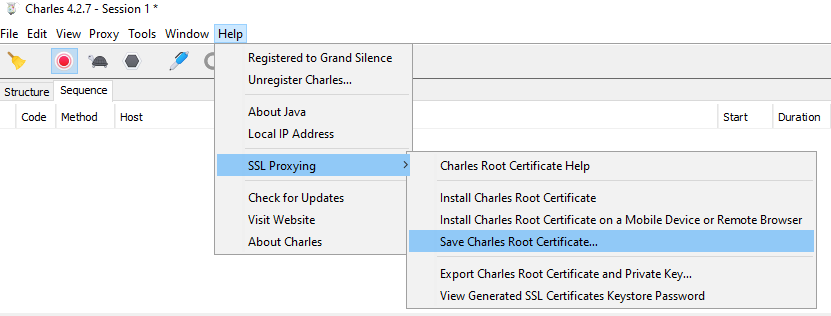
Otherwise, there will be an export option similar to that shown below, so use it to save the HTTP Proxy Root Certificate to the local computer.
Rename the file so that it has a .CRT extension. If using an emulator, you can drag the root certificate into the Downloads folder:
Alternatively you can email the certificate to the device, or run an HTTP server to download the file using a mobile browser. The following steps do this using one of the blog’s code samples:
- git clone https://github.com/gary-archer/oauth.websample1
- cd oauth.websample1/api
- cp ~/Desktop/charlesroot.pem ../spa
- npm install
- npm start
- Run the Safari browser on the simulator
- Get the local computer’s IP address, such as 192.168.42.37
- Browse to a URL such as http://192.168.42.37/spa/charlesroot.pem
Configure Android SSL Trust
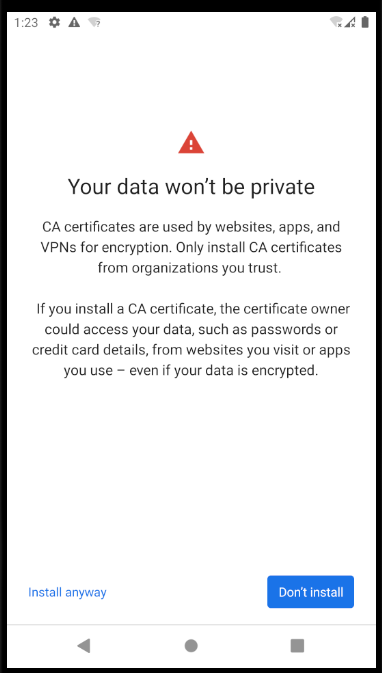
Next, navigate to Settings / Security / Encryption & Credentials / Install a Certificate / CA Certificate, then select the below Install Anyway option:
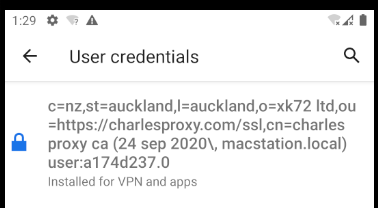
Next navigate to the downloads folder and select the certificate. You may be prompted to set a PIN to secure the device, You will then see the certificate under Settings / Security / Encryption & Credentials / User Credentials:
Configure SSL Trust for Mobile Apps
After these changes, the Chrome Browser will trust the Charles Root, but Mobile Apps will not and we will continue to get a trust error. This is due to Trusted Certificate Behaviour in Android 7.0+.
To overcome this we need to edit the Android manifest to reference an additional network_security_config.xml file, which will only be active in debug mode by default.This indicates that the app will trust all User Certificates installed on the device or emulator:
<?xml version="1.0" encoding="utf-8"?>
<network-security-config>
    <debug-overrides>
        <trust-anchors>
            <certificates src="user" />
        </trust-anchors>
    </debug-overrides>
</network-security-config>
Understand Domain Name Service Lookup
During mobile development it can be useful to also run a local API, with a real world API URL such as https://api.mycompany.com/api. To support this I add a local DNS entry on my local computer:
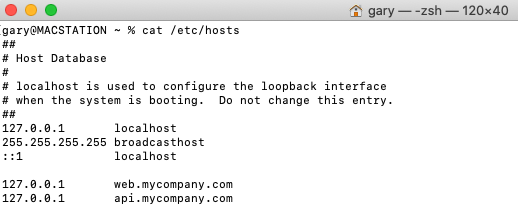
By default, devices and emulators will not be able to connect to this domain. If an HTTP proxy is used however, requests to api.mycompany.com occur on the host computer, so DNS resolution succeeds.
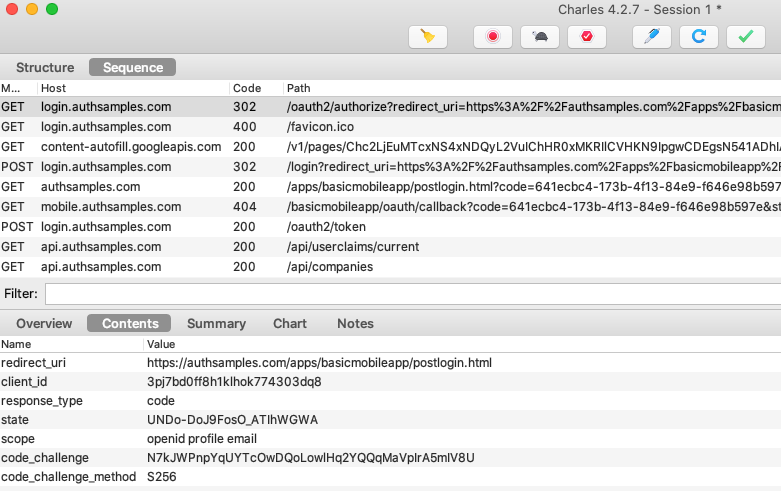
OAuth and API HTTPS Traffic is Now Viewable
On all simulators and devices we can now view OAuth and API HTTPS messages, which can be a big help when we need to troubleshoot.
Where Are We?
We have now completed our Android HTTP debugging setup and next we will enable the equivalent behaviour on iOS.
Next Steps
- Next we will start our iOS Setup and run the AppAuth Code Sample
- For a list of all blog posts see the Index Page