Background
Previously we completed our Android HTTP Debugging Setup. Next we will get a basic iOS OAuth Setup working, via the AppAuth iOS Code Sample.
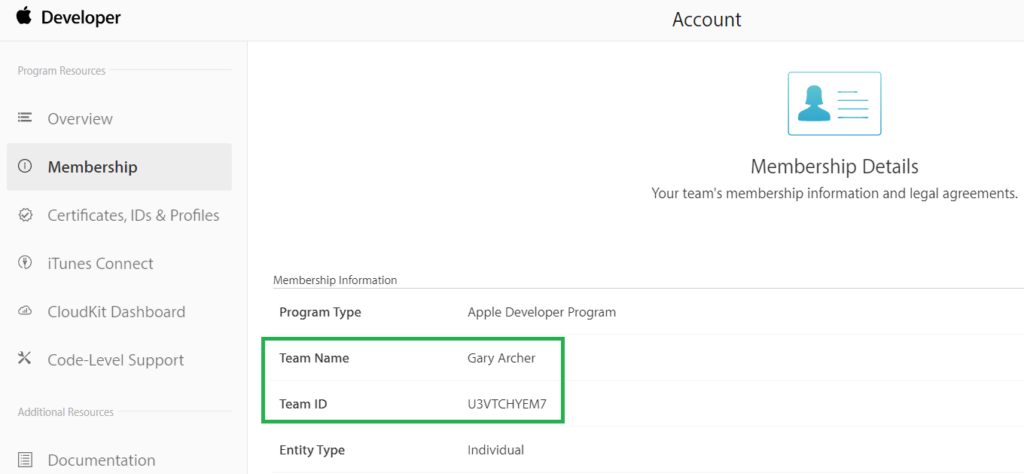
Step 1: Sign up with Apple
I signed up for a Personal Apple Account so that I could get development tools and run mobile apps on real iOS devices:
Step 2: Install Xcode
I next downloaded and installed the latest Xcode development tool, with support for the most recent iOS operating systems and the latest Swift programming language.
Step 3: Get the AppAuth iOS Sample
Download the code sample via the following command:
- git clone https://github.com/openid/AppAuth-iOS
From Xcode’s home screen, select File / Open and navigate to the AppAuth-iOS/Examples/Example-iOS_Swift-Carthage folder:
Step 4: Add the AppAuth Dependency
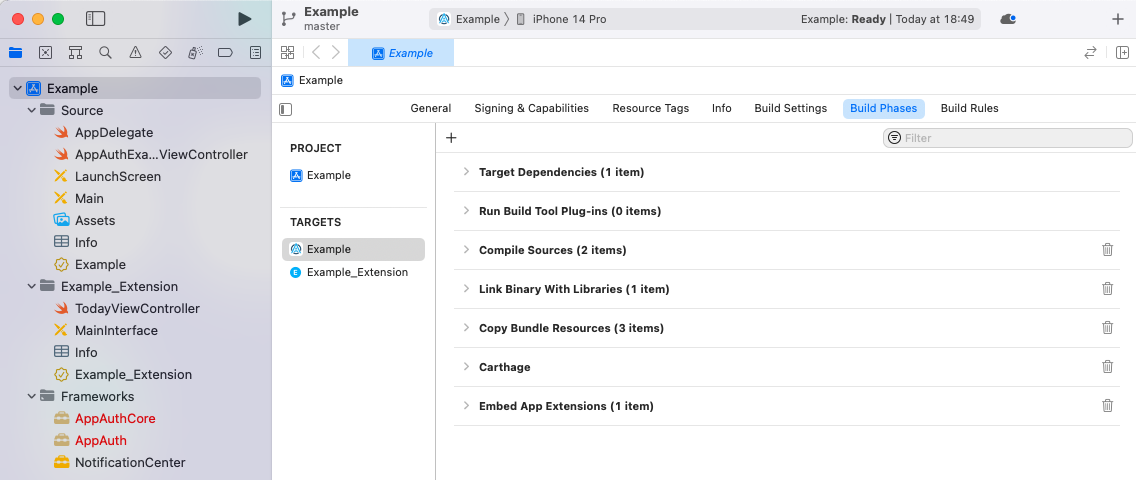
By default the code sample uses the Carthage dependency tool, which is problematic with more recent Xcode versions. Therefore I start with some cleanup, by removing the following items:
- The Example_Extension folder
- The AppAuth entries under Frameworks
- The Carthage section under Build Phases
The project should then look like this:
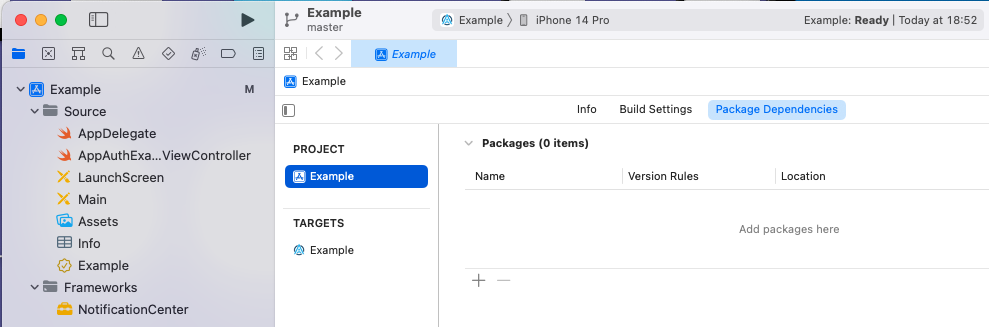
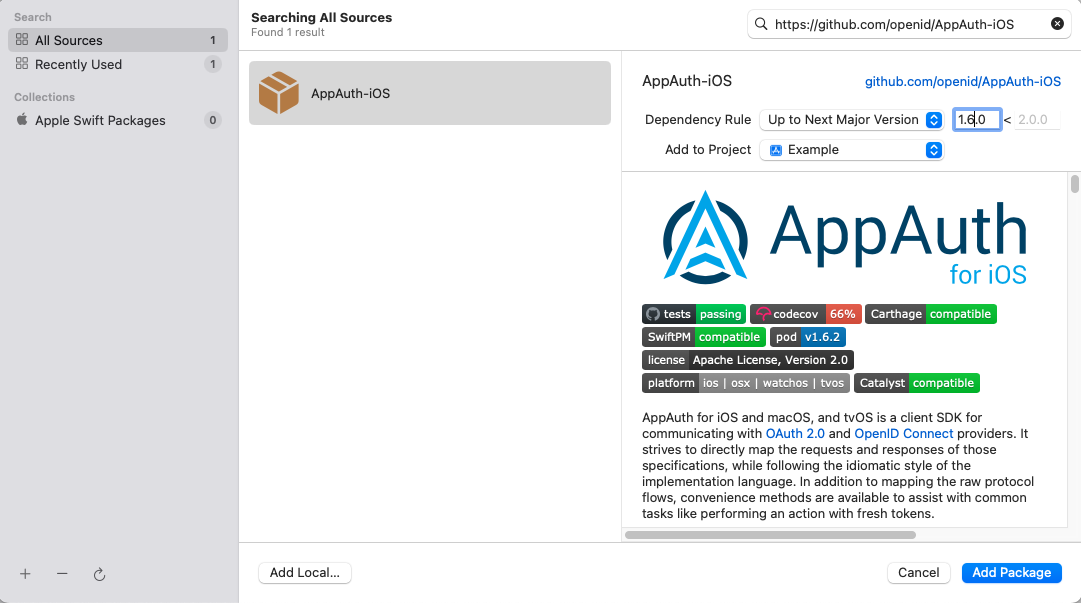
I then add AppAuth using the Swift dependency manager, from the above screen, by typing in the URL to the AppAuth repo. When prompted I select the package product named AppAuth:
Step 5: Understand Mobile OAuth Client Settings
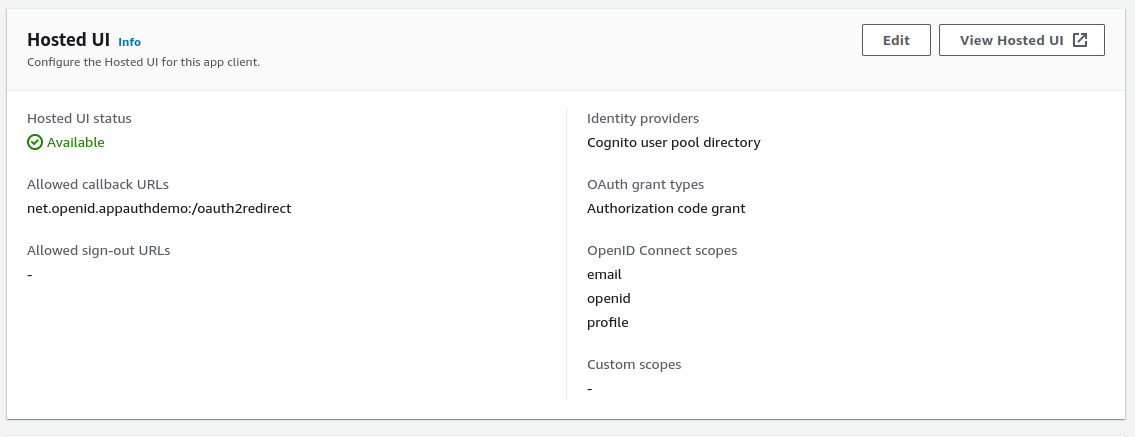
In this post we will point the AppAuth code sample to a client that I registered in this blog’s AWS Cognito authorization server:
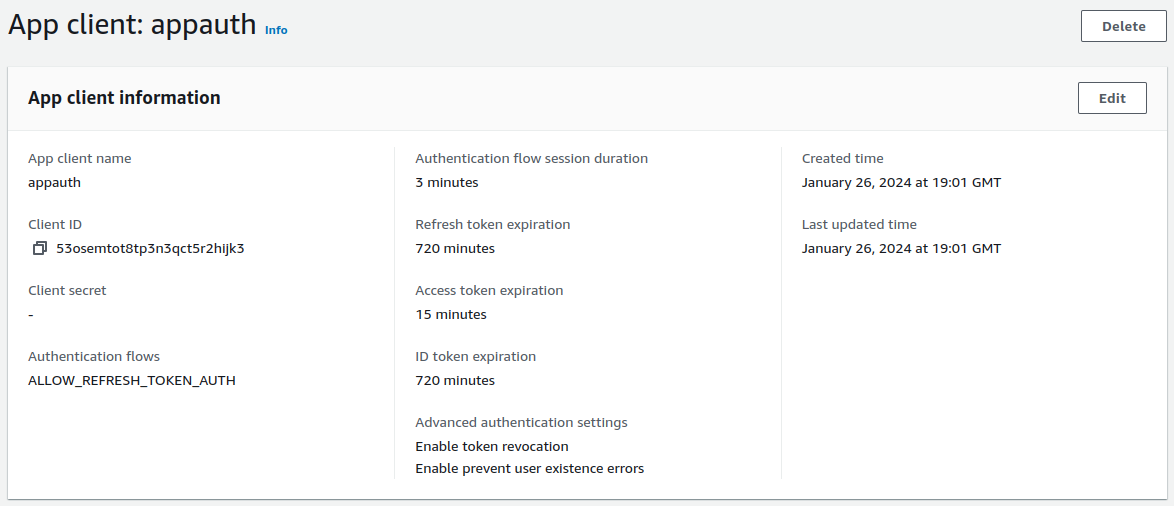
The AppAuth settings are summarised below:
| Field | Value |
|---|---|
| Client Id | 53osemtot8tp3n3qct5r2hijk3 |
| Redirect URI | net.openid.appauthdemo:/oauth2redirect |
| Scope | openid email profile |
| Issuer URI | https://cognito-idp.eu-west-2.amazonaws.com/eu-west-2_CuhLeqiE9 |
Step 6: Update OAuth Client Settings
Before running the app, we need to make the edits from the Example README, so first change the AppAuthExampleViewController.swift source file and edit the below settings to match those in the above table:
let kIssuer: String = "https://cognito-idp.eu-west-2.amazonaws.com/eu-west-2_CuhLeqiE9";
let kClientID: String? = "53osemtot8tp3n3qct5r2hijk3";
let kRedirectURI: String = "net.openid.appauthdemo:/oauth2redirect";
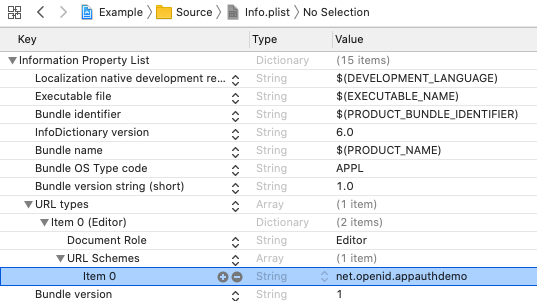
We will also need to register the Redirect URI Scheme in the mobile app’s Info.plist file:
Note also the contents of the OAuth scopes array. For some providers you will need to add the offline_access scope in order to get a refresh token, though Cognito does not require this.
let request = OIDAuthorizationRequest(configuration: configuration,
                                      clientId: clientID,
                                      clientSecret: clientSecret,
                                      scopes: [OIDScopeOpenID, OIDScopeProfile],
                                      redirectURL: redirectURI,
                                      responseType: OIDResponseTypeCode,
                                      additionalParameters: nil)
Step 7: Run the Sample App on an Emulator
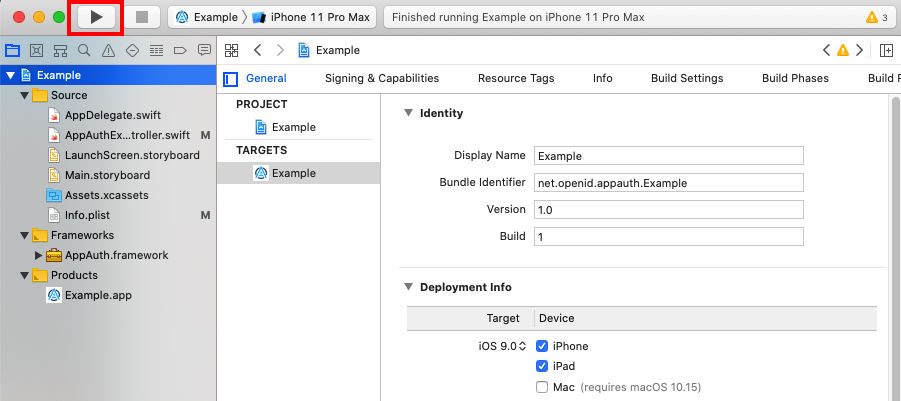
We can run the app using Xcode’s build and run option in the top left of the IDE. I always first select the latest emulator version:
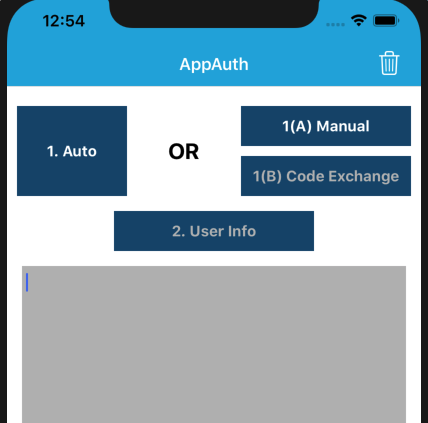
This renders the following simple view. You can click Auto to run an entire OpenID Connect authorization redirect. Alternatively, do it in two stages, by using Manual, where step 1(A) is the front channel redirect, and step 1(B) is the back channel operation to swap the authorization code for tokens:
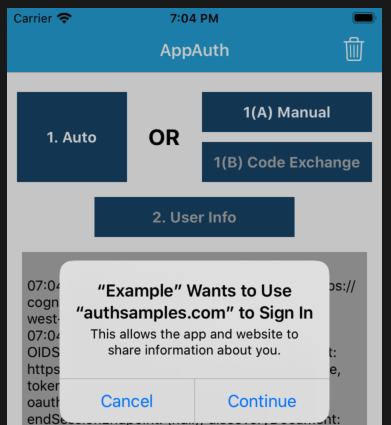
Next an ASWebAuthenticationSession window is shown, which first involves informing the user which app they are logging into:
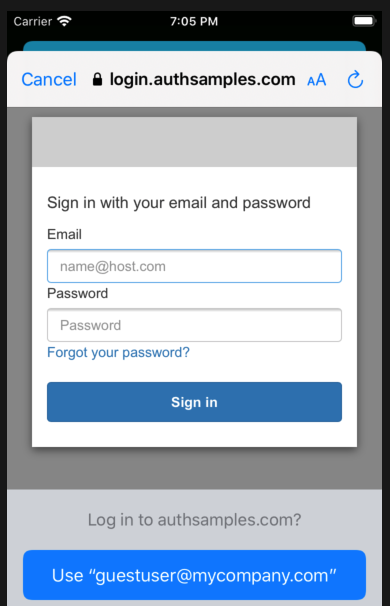
You can then sign in to the app using this blog’s cloud test credential:
- User: guestuser@mycompany.com
- Password: GuestPassword1
The login is done using the system browser, which overlays the mobile view and prevents the sample app from having direct access to the password:
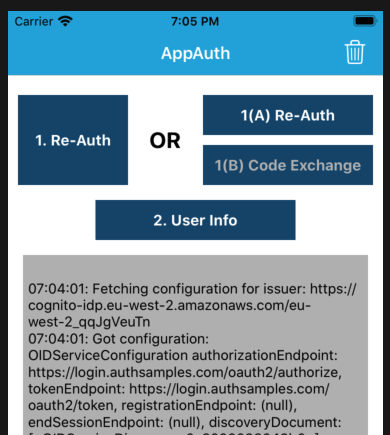
After login, control returns to the mobile app, which has an ID token, an access token and a refresh token. You can then test a couple of simple OAuth operations, including refreshing the access token:
Where Are We?
We have gained an initial understanding of how to run an OAuth Secured Mobile App from Xcode. Shortly we will dsescribe this blog’s iOS code sample, which demonstrates much more complete behaviour.
Next Steps
- Next we will focus on HTTPS Debugging on iOS
- For a list of all blog posts see the Index Page